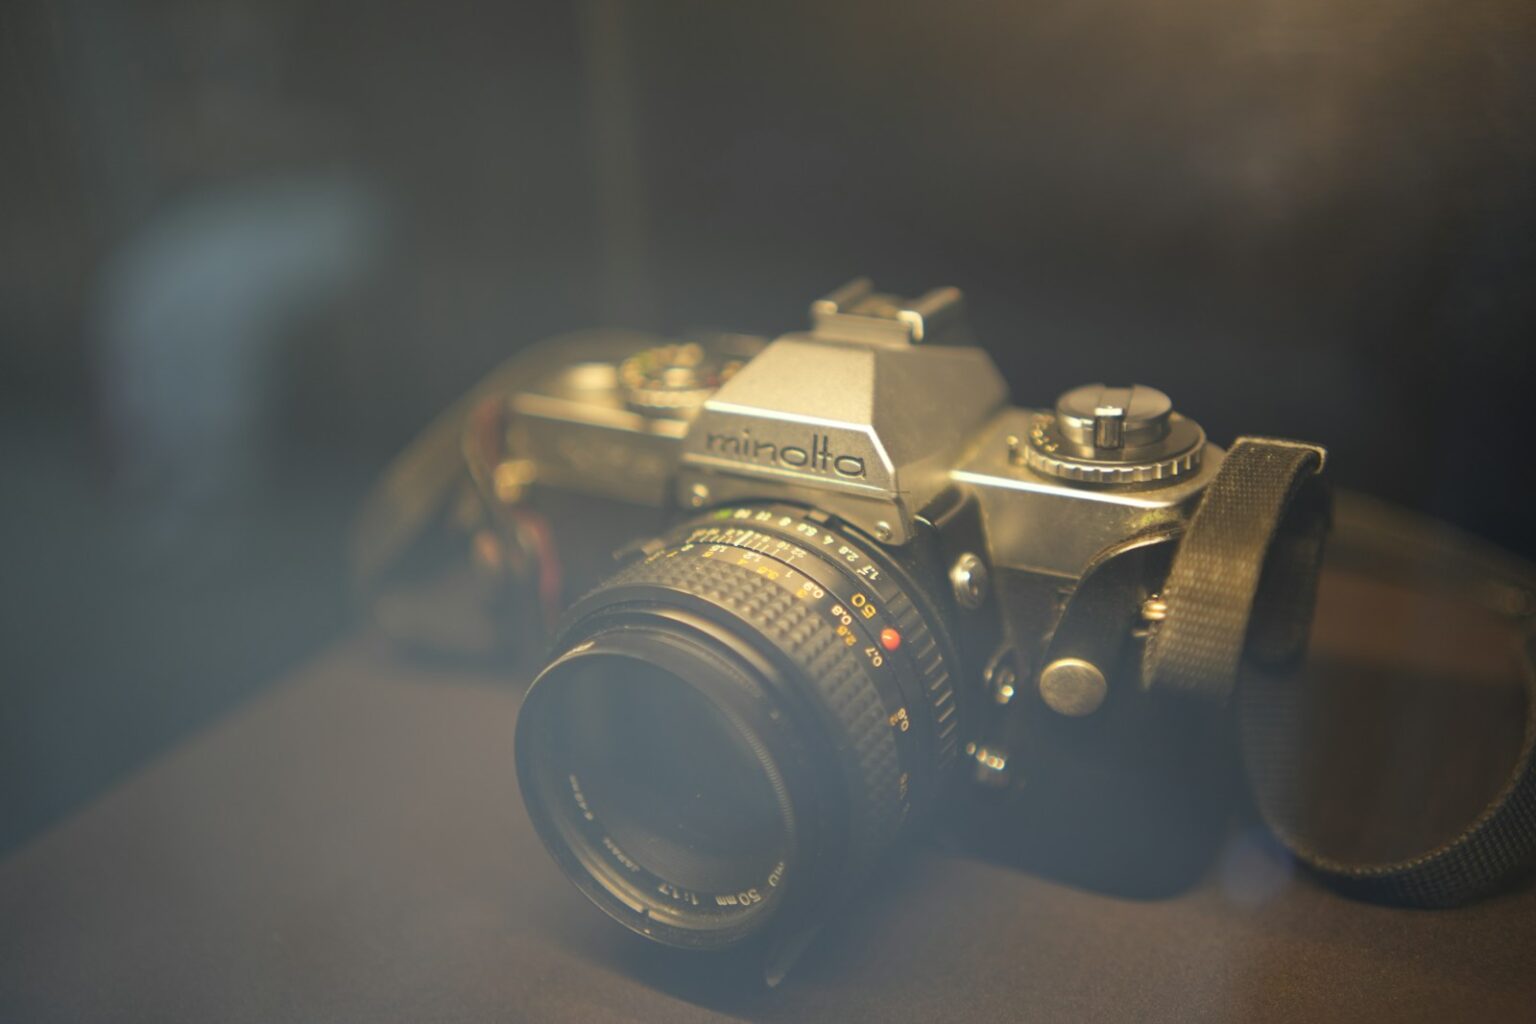
This friendly guide shows what to expect when you add an IR filter to a classic 35mm SLR. The Minolta X-700 was released in 1981 and brought Program, Aperture Priority, and Manual modes to many shooters. It runs on an LR44 battery and offers useful touches like depth-of-field preview, AE lock, and a TTL hot shoe for compatible flashes.
- Why Shoot Infrared with a Minolta SLR: Benefits, Look, and Use Cases
- Infrared Basics: Wavelengths, Filters, and How They Affect Your Photos
- Minolta X-700 Compatibility and Setup for IR Shooting
- MD/MC lens mount, aperture priority, program, and manual mode essentials
- Battery, frame counter, and bulb mode for long-exposure infrared
- Minolta x-70 Infrared Filter: What Buyers Mean, and What Actually Works
- Choosing Your IR Wavelength: 550nm, 590nm, 665nm, 720nm, 850nm, Blue IR/NDVI, Full Spectrum
- Balanced color and contrast
- Classic and flexible
- Highest-contrast monochrome
- Specialized and full-spectrum options
- Shooting Modes and Exposure: Aperture Priority, Program, Manual, and Bulb
- When to use aperture priority, program, and manual
- Bulb exposures and compensating for strong filters
- Lenses, Focus, and Depth of Field in Infrared
- White Balance, Processing, and Post: Getting the Look You Want
- Custom white balance challenges with enhanced color bands
- Post-processing pathways: desaturation, channel swaps, and maximizing contrast
- Camera Features That Help: Light Meter, Flash Sync, and Accessories
- Buyer Recommendations: Best Infrared Filters for Minolta Film Shooters
- Conclusion
- FAQ
- What does an infrared filter do for film photography?
- Which wavelengths give color versus black-and-white IR results?
- Can I use standard MD/MC lenses on my SLR for IR shooting?
- How do I handle metering and exposure for infrared film?
- Do I need to change my white balance or processing workflow?
- Which filters are recommended for different goals?
- How does lens aperture affect depth of field and sharpness in IR?
- Will my camera’s light meter read accurately for IR scenes?
- Is flash usable for infrared film photography?
- What film types work best for infrared shooting?
- How do I focus accurately when using an IR-pass filter on an SLR?
- What camera modes work best for IR film shooting on older SLRs?
- Do batteries and frame counters affect infrared shooting on older bodies?
- Can I use ND or blue-IR/NDVI filters for specialized work?
- Any tips for scanning and post-processing IR film?
The aim here is practical: real-world tips on exposure, focusing, and stable shooting that get clean photo results on film. You’ll learn how the filter changes the look and effect of scenes, and which camera features matter most for consistent results.
We keep things simple and step-by-step. Expect clear advice on wavelengths, lens camera choices, mounting, and processing. By the end, you’ll have a short checklist and the confidence to try infrared photography with an older SLR.
Why Shoot Infrared with a Minolta SLR: Benefits, Look, and Use Cases
When you aim past the visible spectrum, familiar places take on a cinematic new look. The classic result is white or golden foliage set against dramatically dark skies. That contrast adds mood and depth to landscape frames and architectural photos on film.
Pick a wavelength to shape the outcome. Around 720nm you get the traditional high-contrast effect. Bands near 590–665nm let you explore false-color palettes. At 850nm the result is bold black-and-white with bright whites and deep blacks.
- Landscapes: IR separates clouds from sky and makes trees glow, helping wide field shots pop.
- Portraits: Use softer light and selective framing to create ethereal skin tones and calm backgrounds.
- Experimental: Try false-color ranges for striking, painterly work or push 850nm for graphic monochrome.
On a classic SLR, manual controls, optical viewfinders, and reliable lenses make slr photography techniques simple to apply. You’ll learn how to plan a roll, stabilize for long exposures, and choose shots that reward the extra care.
- Chase bright sunlight for maximum foliage glow.
- Stabilize the camera for longer exposures.
- Start with a few test frames to dial in expected results.
Infrared Basics: Wavelengths, Filters, and How They Affect Your Photos
Understanding which wavelengths pass and which block light is the key to predictable infrared results. Each wavelength band shapes contrast, color potential, and the exposure you need from the camera.
Color vs black-and-white starts with choice of band. Around 550–590nm you keep more visible tones, so foliage and sky can shift into vivid false color palettes. That range favors painterly color work but can be softer and trickier to white balance.
False-color potential vs high-contrast monochrome results
Mid-range choices like 665nm give a blend of color flexibility and usable monochrome contrast. The classic 720nm option delivers strong white foliage and dark skies—many shooters rely on it for consistent tonal range and simpler processing.
At the far end, 850nm produces bold black-and-white images: very bright highlights and deep blacks with less need for heavy post work. Expect longer exposure times as bands get denser; you’ll often change mode, stabilize the camera, and stop down the lens to regain focus and depth of field.
- Practical tip: pick a band that matches your desired look, then test a few shots to confirm exposure and focus behavior.
- Processing note: false-color paths use white balance and channel edits, while monochrome workflows emphasize contrast mapping and tonal separation.
Minolta X-700 Compatibility and Setup for IR Shooting
Start with battery, mount, and mode checks so your session runs smoothly when exposures stretch out.
Mount note: the camera accepts MD and MC lenses via the MD/SR mount. That gives you many classic primes and zooms that pair well with special-spectrum work. Confirm a secure lens lock and smooth aperture ring movement before you head out.
MD/MC lens mount, aperture priority, program, and manual mode essentials
Aperture Priority is handy for IR film: it locks depth while the meter adapts to changing light. Program helps with quick handheld shots. Switch to Manual mode when the meter is fooled by glowing foliage or deep skies.
Battery, frame counter, and bulb mode for long-exposure infrared
Install two LR44 cells and run the battery check. A healthy battery keeps metering steady and makes Bulb timing reliable.
- Use Bulb for long exposures and a cable release to avoid shake.
- Watch the frame counter to manage each roll and avoid mid-roll surprises.
- Use DOF preview to compensate for focus shift and hold middle-to-far sharpness.
| Feature | Why it matters | Quick tip |
|---|---|---|
| MD/SR mount | Wide lens choice for primes and zooms | Check mount lock and aperture ring |
| Aperture Priority / Manual | Control depth vs full exposure control | Use A for walkabout, M for tricky meters |
| LR44 battery / Bulb | Ensures metering and long exposure timing | Battery check before long trips; cable release for Bulb |
| DOF preview / Frame counter | Helps with focus shift and tracking rolls | Preview stopped-down view; watch frames left |
Minolta x-70 Infrared Filter: What Buyers Mean, and What Actually Works
What sellers call a go-to accessory can mean different wavelength ranges and very different results. When buyers ask for a minolta x-700 infrared accessory, they usually mean the 720nm option labeled R72. That band corresponds to Wratten 89b and gives the classic white foliage / dark-sky look on film.
For deeper monochrome contrast, the 850nm choice (Wratten 87c) pushes highlights brighter and darks darker. Expect much longer exposures and a steady tripod when you use that range on a stock camera.
- 720nm (R72 / 89b): balanced false color potential and strong B&W conversion.
- 850nm (87c): highest-contrast monochrome, longer exposures required.
- Enhanced color options (590/665nm) work best with full-spectrum conversions but can still be creative on film.
Practical notes: bracket exposures because the camera’s average meter can be fooled. Match mount threads and step-up rings so a single filter fits multiple lenses. Plan each roll and lock the setup for consistent results.
| Option | Typical use | Trade-off |
|---|---|---|
| 720nm (R72) | Classic IR on film | Good balance of color and B&W |
| 850nm | Strong monochrome | Long exposures, strict setup |
| 590/665nm | Enhanced color (best on converted cameras) | Less predictable on stock cameras |
Choosing Your IR Wavelength: 550nm, 590nm, 665nm, 720nm, 850nm, Blue IR/NDVI, Full Spectrum
Choose the wavelength first: it shapes color balance, contrast, and exposure needs across a roll of film.
Vivid false color choices like 550nm and 590nm push foliage toward pinks, crimsons, or warm golds while keeping skies intensely blue. These bands give dramatic, painterly results but can be a bit trickier in post-processing.
Balanced color and contrast
About 665nm sits between color play and strong black-and-white conversion. It keeps some color options while still giving useful tonal contrast for film work.
Classic and flexible
720nm (R72/89b) is the classic option. It delivers luminous foliage and dark skies and remains a reliable way to get convertible results you can process for color or B&W.
Highest-contrast monochrome
At 850nm the range compresses the palette to tonal values: bright whites and deep blacks. Expect longer exposures and careful light management to keep shots crisp.
Specialized and full-spectrum options
Blue IR/NDVI transmits both blue and IR for crop analysis and specialized field work, though images may be a bit softer. Full spectrum conversions give maximum flexibility, but on a film camera you’ll likely pick one filter per session and plan stability and exposure accordingly.
- Choose 550nm for bold, unmistakable false color.
- Pick 590nm for golden foliage and vivid skies.
- Use step rings so one accessory fits multiple lenses and keeps the workflow light in the field.
| Band | Typical use | Trade-off |
|---|---|---|
| 550nm | Bold false color | Harder white balance, vivid results |
| 720nm | Classic IR look | Good balance, reliable processing |
| 850nm | High-contrast B&W | Long exposures, strict setup |
Shooting Modes and Exposure: Aperture Priority, Program, Manual, and Bulb
Mode choice shapes not just exposure but how confidently you can work through a roll of film. Decide before you shoot so each frame stays consistent.
When to use aperture priority, program, and manual
Aperture priority is a great default for changing light. Lock your f-stop for depth of field and let the camera pick shutter speed. Use exposure compensation when the meter is fooled by bright foliage or dark skies.
Program mode works for quick snapshots in bright conditions. It is less reliable as filters get darker and exposures lengthen.
Manual mode shines when the meter misreads contrast. Set shutter and aperture, then bracket shots to protect your roll. Manual mode gives predictable negatives for processing.
Bulb exposures and compensating for strong filters
For dense filters, switch to Bulb and plan longer times. A field-tested approach: meter normally, then add stops — one shooter used f/16 plus five stops with an R72-style filter to get good negatives.
- Stabilize: use a sturdy tripod, cable release, and slow-trigger technique to avoid blur.
- Consistency: keep settings steady across a sequence, then tweak in small steps.
- Record results: note time, frame, and settings so you learn what worked.
- Battery check: fresh LR44 cells help the camera meter reliably during long sessions.
| Mode | Best use | Quick tip |
|---|---|---|
| Aperture Priority | Variable light, depth control | Lock f-stop, watch compensation |
| Program | Bright, quick shooting | Prefer for handheld daytime snaps |
| Manual | Tricky meters, bracketing | Set then bracket exposures |
| Bulb | Very long exposures | Meter then add stops; use tripod |
Lenses, Focus, and Depth of Field in Infrared
Sharp results in the field start with the right lens choices and practical focus habits. Classic MD/MC glass pairs well with older SLRs, giving reliable rendering and smooth aperture action.
Focus shift and hyperfocal techniques
Be aware: focus can shift slightly when you image beyond visible light. Set a conservative aperture (f/8–f/16) and use the hyperfocal scale on primes to extend sharp coverage.
Align the distance mark for your chosen aperture and zone focus to keep near-to-far subjects acceptably sharp.
DOF preview and practical tips
The X-700’s depth-of-field preview lets you stop down and check the scene through the viewfinder. It will darken, but it confirms your focus zones before you shoot.
- Manual focus is best with strong IR shooting—move slowly and re-check.
- If mount fit or lens camera coupling feels loose, fix it; tiny play affects focus at narrow tolerances.
- Use a tripod and deliberate shutter mode to steady framing and fine-tune focus.
| Action | Why it helps | Quick tip |
|---|---|---|
| Stop down | More depth field | Try f/11–f/16 |
| Zone focus | Faster field work | Use hyperfocal marks on lens |
| Preview DOF | Confirm focus | Use DOF tab before exposure |
White Balance, Processing, and Post: Getting the Look You Want
Treat scanning and post as part of the shoot: they shape the final look as much as exposure does.
Custom white balance can be tricky with enhanced color bands like 590nm and 665nm. On film, most of the color correction happens during scanning and processing. Expect denser negatives and occasional softness where multiple bands mix.
Custom white balance challenges with enhanced color bands
Start with a clean, neutral scan. If the negative is uneven, correct major casts first. These bands can be camera sensitive, so careful exposure helps preserve detail.
Post-processing pathways: desaturation, channel swaps, and maximizing contrast
For false-color results, use channel swaps and selective hue shifts. Keep edits subtle until the image reads well at full size. For black-and-white, desaturate then work curves and local contrast to match classic IR tones.
- Note settings and lens plus the filter used so you can repeat pleasing results.
- 720nm/850nm usually give simpler, sharper B&W outcomes and cut processing steps.
- Blue IR/NDVI can be softer; compensate with clarity and careful sharpening in post.
| Stage | Action | Quick result |
|---|---|---|
| Scan | Neutralize major color casts, preserve highlights | Clean base for editing |
| Color edits | Channel swaps, selective hue, saturation control | Vivid false-color photos |
| Monochrome | Desaturate, curves, local contrast | Classic IR look, strong tonal range |
| Record-keeping | Log exposure, settings, filter and film | Repeatable, consistent results |
Camera Features That Help: Light Meter, Flash Sync, and Accessories
Good camera features can turn an unpredictable scene into a repeatable result. The minolta x-700’s average light meter reads the scene as a whole, so bright foliage or deep skies can fool it. Use AE lock and exposure compensation to protect highlights or deepen shadows when the meter is biased.
Metering behavior and exposure control
Bracket a few frames around the middle reading to rescue marginal negatives. A small bit of bracketing often beats guessing one exact setting.
Flash sync, ports, and motor drive
The hot shoe supports PX flashes and basic single-contact units; sync speed is 1/60 s. Use the PC sync port for older strobes. While most IR work uses ambient light, flash can add creative control with gels.
- Battery: check cells so the meter and motor drive contacts stay responsive.
- Accessories: cable release, tripod, and step-up rings improve steadiness and lens compatibility.
- Motor drive: speeds advance and reduces handling between frames.
| Feature | Why it helps | Quick tip |
|---|---|---|
| Average meter | Fast readings, can be fooled by IR contrast | Use AE lock and compensate |
| Hot shoe / PC port | Flash options for mixed light | Keep sync at 1/60 s |
| Motor drive contacts | Faster frame advance, steadier workflow | Use when timing clouds or action |
Confirm battery health, lock your settings, and carry the accessories that save time in the field. These steps give steadier results with classic cameras and challenging light.
Buyer Recommendations: Best Infrared Filters for Minolta Film Shooters
Start by matching the band to the look you want. Pick a wavelength that fits your creative goal and then build your kit around that option. This simple guide helps you choose one or two accessories that work well with classic film cameras and lenses.
Quick picks by goal:
- Vivid color — 550nm: Choose 550nm for deep blue skies and pink/crimson foliage. This option gives the boldest false-color shots on film.
- Warmer palette — 590nm: Add 590nm after you try the classic band to see golden foliage and bright blues with a softer look.
- Flexible hybrid — 665nm: Pick 665nm to keep color play while retaining strong black-and-white conversion for varied results.
- Classic IR — 720nm (R72/89b): Go with 720nm for dependable, traditional tonality and easy processing across many films.
- Pure B&W — 850nm (87c): Select 850nm to emphasize contrast and produce striking monochrome negatives with minimal post work.
Practical kit notes: a sharp 50mm lens is a great starting choice. Use step rings so one accessory fits multiple lenses. Prioritize a sturdy tripod and a cable release—those priority items protect clean negatives during long exposures.
| Goal | Recommended band | Why it helps |
|---|---|---|
| Vivid color | 550nm | Deep skies, pink foliage |
| Flexible hybrid | 665nm | Color options + solid B&W |
| Classic look | 720nm | Reliable, easy processing |
Conclusion
, Simple choices—lens, aperture, and support—often yield the most striking results. A reliable camera with Program, Aperture Priority, Manual, and Bulb modes gives you the control you need. Use a steady tripod and a sharp lens to make long exposure work easier.
Start with 720nm as your first step on film, then expand into 850nm or 590/665nm once you know your way. Respect the longer time demands and log each roll: aperture, exposure, place, and any notes about light.
In the middle of experimentation, keep things simple. Compose, focus, meter smartly, and give each shot the time it needs. With steady technique and careful notes, your photography will improve frame by frame.
Final thought: this camera platform is a practical way to make unique photos. Repeat what works, refine your depth field choices, and enjoy the process.
FAQ
What does an infrared filter do for film photography?
An infrared filter blocks visible light and passes longer wavelengths, so foliage reflects strongly and skies darken. On film this creates the classic “white leaves, dark sky” look or vivid false colors depending on the wavelength chosen and the emulsion used.
Which wavelengths give color versus black-and-white IR results?
Shorter IR bands like 550nm–590nm produce more false-color effects with warm foliage and bluish skies. Mid bands such as 665nm give a balance between color and good monochrome contrast. Stronger bands like 720nm–850nm favor high-contrast black-and-white tones and the traditional infrared aesthetic.
Can I use standard MD/MC lenses on my SLR for IR shooting?
Yes. Most MD/MC lenses mount fine on older SLRs and work well for infrared. Be aware of focus shift—infrared focuses slightly differently—so either use the infrared focus index if present or focus normally and stop down for extra depth of field.
How do I handle metering and exposure for infrared film?
Meter for the visible scene, then add exposure compensation to account for IR filter light loss. For strong IR filters and long exposures, switch to manual or bulb mode and bracket exposures. Aperture priority can work for handheld scenes, but expect to fine-tune with compensation.
Do I need to change my white balance or processing workflow?
For color IR, custom white balance and channel swaps in post yield the best results. For pure black-and-white IR film, standard B&W processing applies but expect higher contrast; consider pulling a stop or using contrast control during printing or scanning.
Which filters are recommended for different goals?
Choose 550–590nm for vivid false-color landscapes, 665nm for a hybrid look that converts well to B&W or color, 720nm for the classic high-contrast infrared, and 850nm if you want the strongest monochrome separation. Full-spectrum treatments give flexibility but need an external IR-pass filter.
How does lens aperture affect depth of field and sharpness in IR?
Stopping down increases depth of field and reduces the impact of infrared focus shift. Use mid apertures like f/5.6–f/11 for landscape IR to balance sharpness and diffraction; for close-ups, stop down more and recheck focus carefully.
Will my camera’s light meter read accurately for IR scenes?
Light meters measure visible light, so they can under- or overestimate exposure when an IR-pass filter is used. Apply exposure compensation or use test frames. In very long exposures, rely on manual timing and reciprocity data for your film.
Is flash usable for infrared film photography?
Most camera flashes emit little near-infrared, so on-filtered shots flash has limited effect. For fill or short-range work, some flashes still help, but don’t expect strong IR illumination unless you use specialized IR light sources.
What film types work best for infrared shooting?
Dedicated IR-sensitive films or modified black-and-white films produce the most reliable results. Color films can yield false-color IR but require careful processing and scanning. Check reciprocity behavior and ISO adjustments for each stock.
How do I focus accurately when using an IR-pass filter on an SLR?
Remove the filter, focus normally, note the focus distance, then reapply the filter and set the same distance. If your lens has an infrared index mark, use it. Stopping down and using hyperfocal techniques also helps achieve sharp frames.
What camera modes work best for IR film shooting on older SLRs?
Manual mode gives full control for bracketed and long exposures. Aperture-priority is handy for quick handheld shots when light conditions are steady. Program mode can be unpredictable through dense IR filters, so use it with caution.
Do batteries and frame counters affect infrared shooting on older bodies?
Batteries power metering and motor drives; keep spares for long sessions. Frame counters and motor functions don’t change IR capture but ensure they work for reliable shooting and timing, especially during long exposures or multiple frames.
Can I use ND or blue-IR/NDVI filters for specialized work?
Yes. Blue-IR and NDVI filters target specific wavelengths for vegetation analysis and scientific uses. Neutral-density IR filters help balance exposure without altering color balance when combining visible and IR light in creative or technical workflows.
Any tips for scanning and post-processing IR film?
Scan at high resolution and capture raw tonal range. For color IR, experiment with channel swaps and selective desaturation. For B&W, adjust contrast and dodge/burn to control highlights and shadows. Preserve negatives and test prints to refine your look.